I have 2 TAIG mills sitting around and as awesome as these little machines are, two things I could never get past are the backlash in the leadscrews and what a pain they are to lubricate. I love the box ways, and the design of these mills is very smart, so I thought they warranted some nice ballscrews and an oil pump. I only started this today, and the process will likely be slow, but I thought I'd post a step-by-step since I have never done that before and someone might be interested to see it come together.
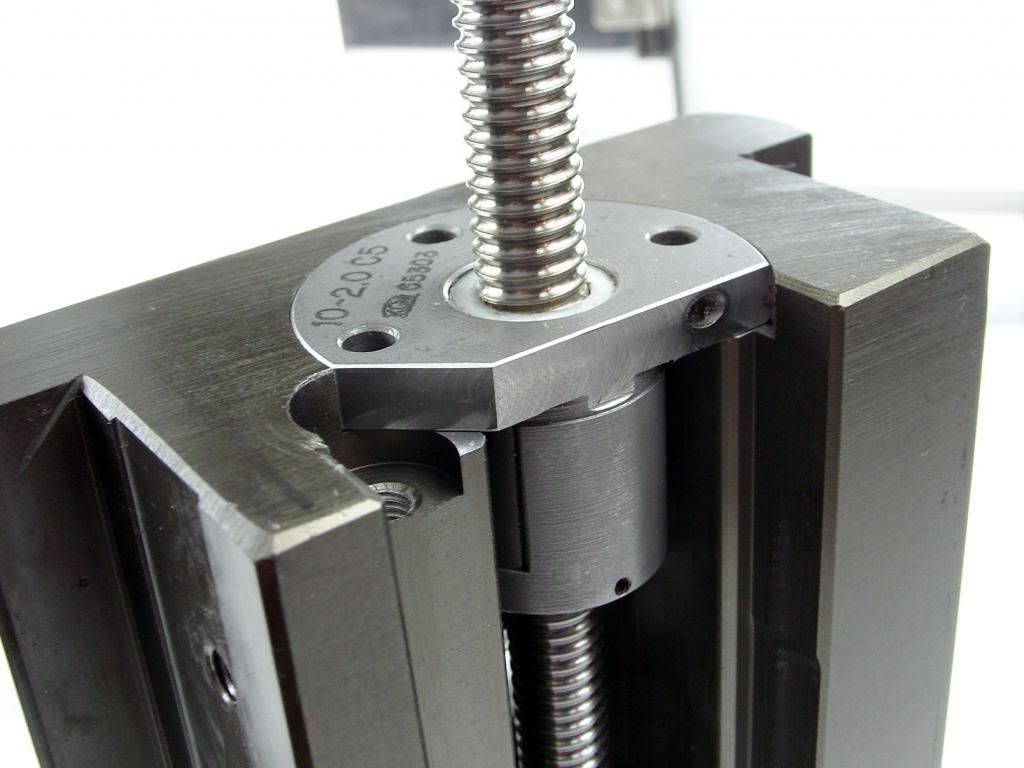
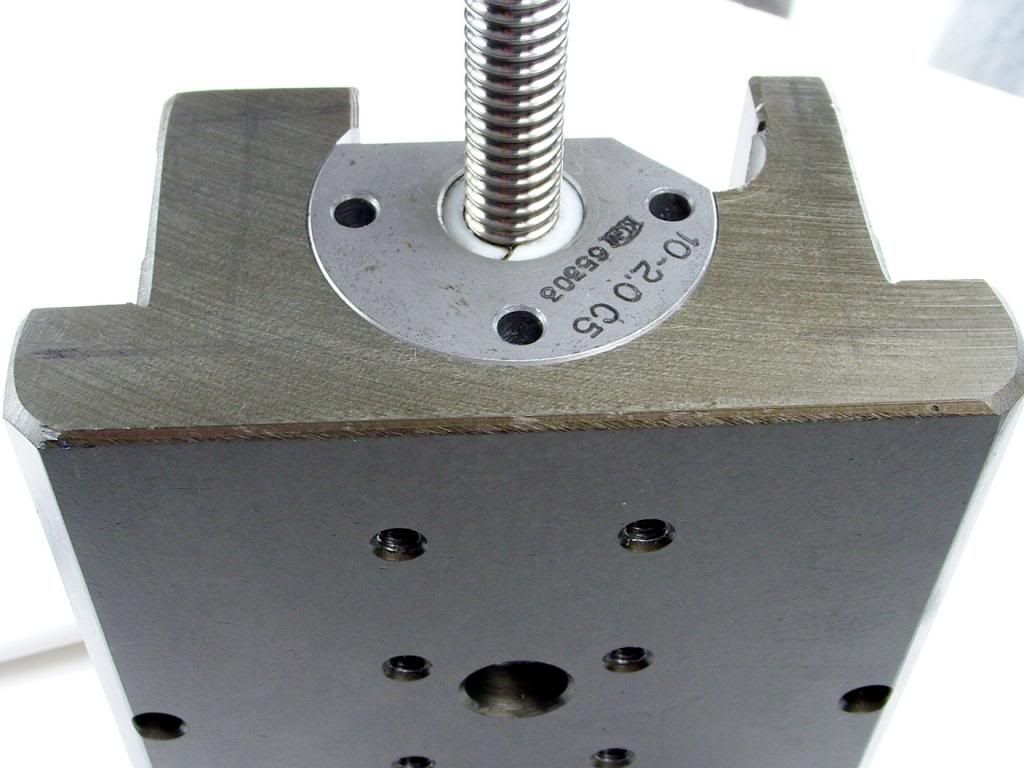
I started by milling the flange on the ballscrew. It was pretty hard, so I used an end mill made specifically for hardened steel. They are expensive, but if taken care of, can last quite a while when doing stuff here and there like milling flats and keyways in shafts, etc. I milled it down to the ballnut body, and it seemed like it would be a perfect fit. The screw is a C5 ground screw, 10mm with a 2mm lead. It is a barely used, high quality screw I got on eBay for about 30.00. It came complete with A/C bearings.
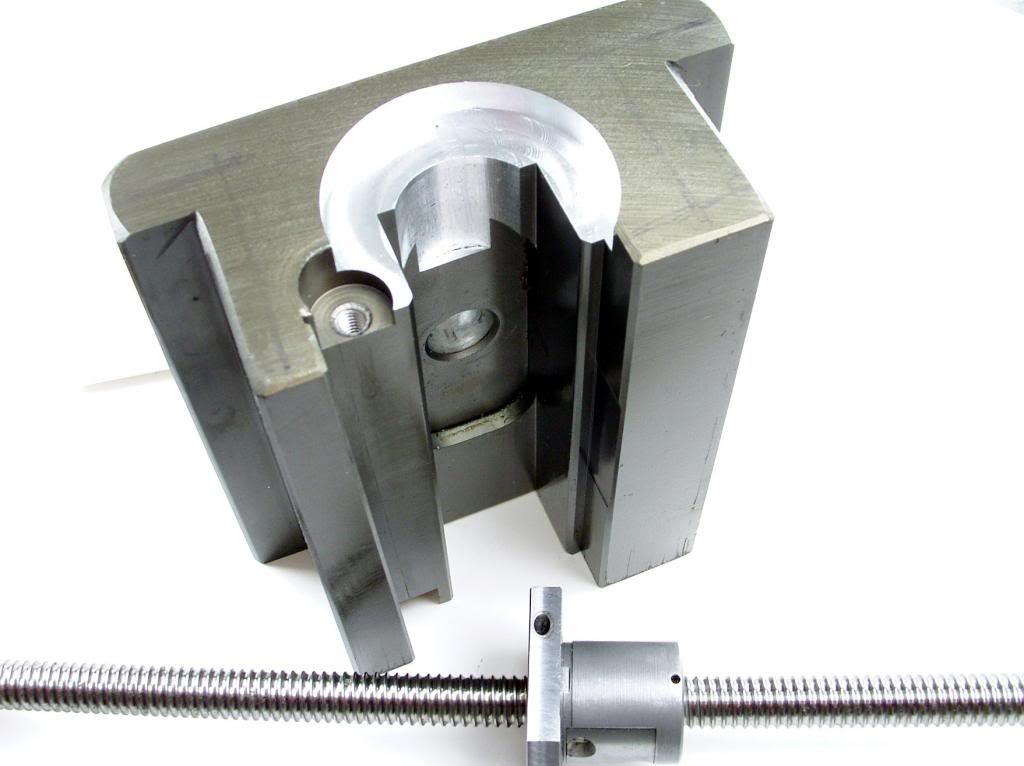
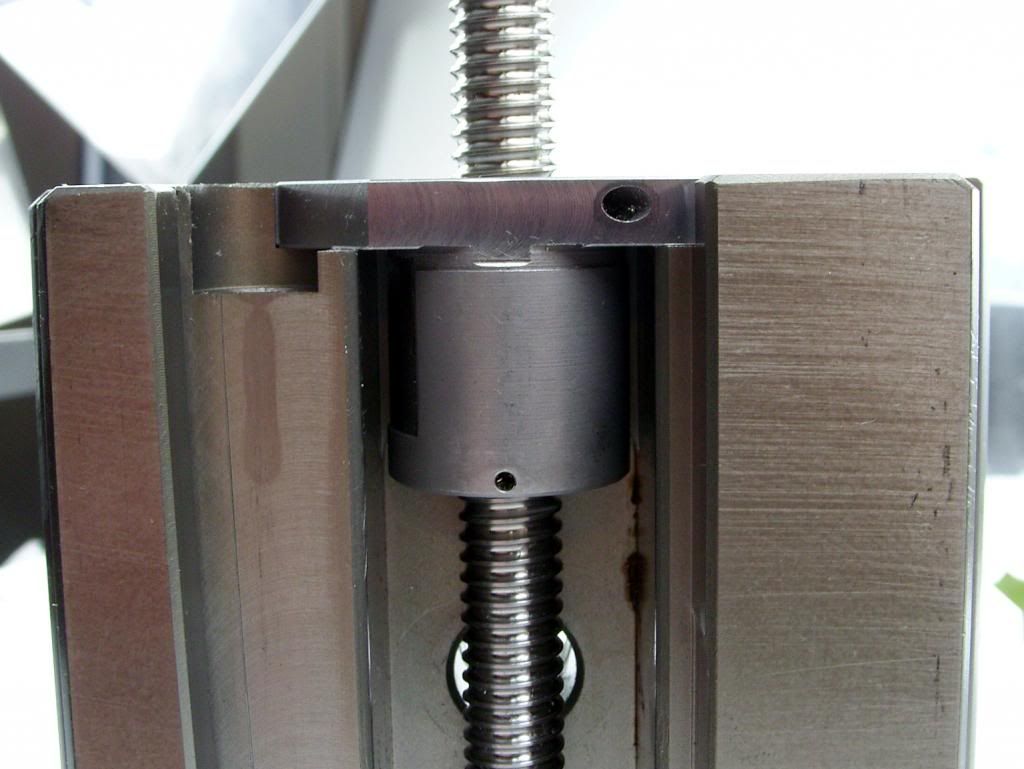
I milled the pocket into the Z axis to fit the ballnut body. Due to the fact that the ballnut is in the way, it requires moving it out about a quarter inch to clear the Z axis rail. It fit like a glove, and I will have to make a new bearing block for the AC bearings at the top. I will thread the OD of the bearing keeper so that the factory TAIG motor mount fits on it.
![]()
![]()
![]()
![]()
I started by milling the flange on the ballscrew. It was pretty hard, so I used an end mill made specifically for hardened steel. They are expensive, but if taken care of, can last quite a while when doing stuff here and there like milling flats and keyways in shafts, etc. I milled it down to the ballnut body, and it seemed like it would be a perfect fit. The screw is a C5 ground screw, 10mm with a 2mm lead. It is a barely used, high quality screw I got on eBay for about 30.00. It came complete with A/C bearings.
I milled the pocket into the Z axis to fit the ballnut body. Due to the fact that the ballnut is in the way, it requires moving it out about a quarter inch to clear the Z axis rail. It fit like a glove, and I will have to make a new bearing block for the AC bearings at the top. I will thread the OD of the bearing keeper so that the factory TAIG motor mount fits on it.